The Beginner's Guide to Using ChatGPT API in Python (4 Code Examples)
Contents
API integration makes it easy for developers to add new features to their applications without creating them from scratch. This allows them to enhance the capabilities of their applications with minimal time and effort.
Many tech companies offer APIs for their products and services to allow developers to integrate and interact with their systems. OpenAI, the company behind ChatGPT, also provides an API that allows developers to access the power of ChatGPT in their applications.
Not only that, they also provide a custom Python library which makes working with the ChatGPT API in Python simple and efficient. In this article, we will see how to use the ChatGPT API in Python, and what you can do with it, with some examples and codes.
What is the ChatGPT API? How Does It Differ From ChatGPT?
The ChatGPT API enables developers to access the functionality of ChatGPT, the conversational AI model, and integrate it into their applications and websites. Unlike using the ChatGPT chat interface, the API provides more flexibility with integration capabilities.
While ChatGPT Plus offers a chat interface with built-in features like integrated browsing, code execution, plugins, etc., the API allows developers to create custom interfaces and functionalities tailored to their specific needs. It can be integrated into applications to build chatbots, assistants, and other tools:
- Snapchat uses the ChatGPT API to build a customizable chatbot that offers recommendations and answers all types of questions.
- Instacart uses the ChatGPT API alongside its own AI and product data from its 75,000+ retail partner store locations to help customers discover shopping ideas and get personalized suggestions.
- Shopify uses the ChatGPT API to power Shop’s (Shopify’s consumer app) shopping assistant, which provides personalized recommendations based on shoppers' requests.
(Reference: https://openai.com/blog/introducing-chatgpt-and-whisper-apis)
Cost and Pricing of ChatGPT API
The ChatGPT API uses a pay-as-you-go pricing model, where you pay for only what you use. The cost can be as low as $0.0001 and varies depending on the model you are using. Available models are categorized into:
- Language : GPT-4 Turbo, GPT-4, GPT-3.5 Turbo, Assistants API, etc.
- Image : DALL·E 2, DALL·E 3
- Audio : Whisper, TTD, TTS HD
Generally, the language models are charged by every 1,000 tokens (about 750 words), image models by every image, and audio models by every minute/1,000 characters.
One thing to note is that ChatGPT API and ChatGPT Plus subscriptions are billed separately. The ChatGPT Plus subscription covers usage on chat.openai.com only. If you have subscribed to ChatGPT Plus, you still need to pay the cost of using ChatGPT API based on your usage.
Getting Started: How to Use ChatGPT API in Python
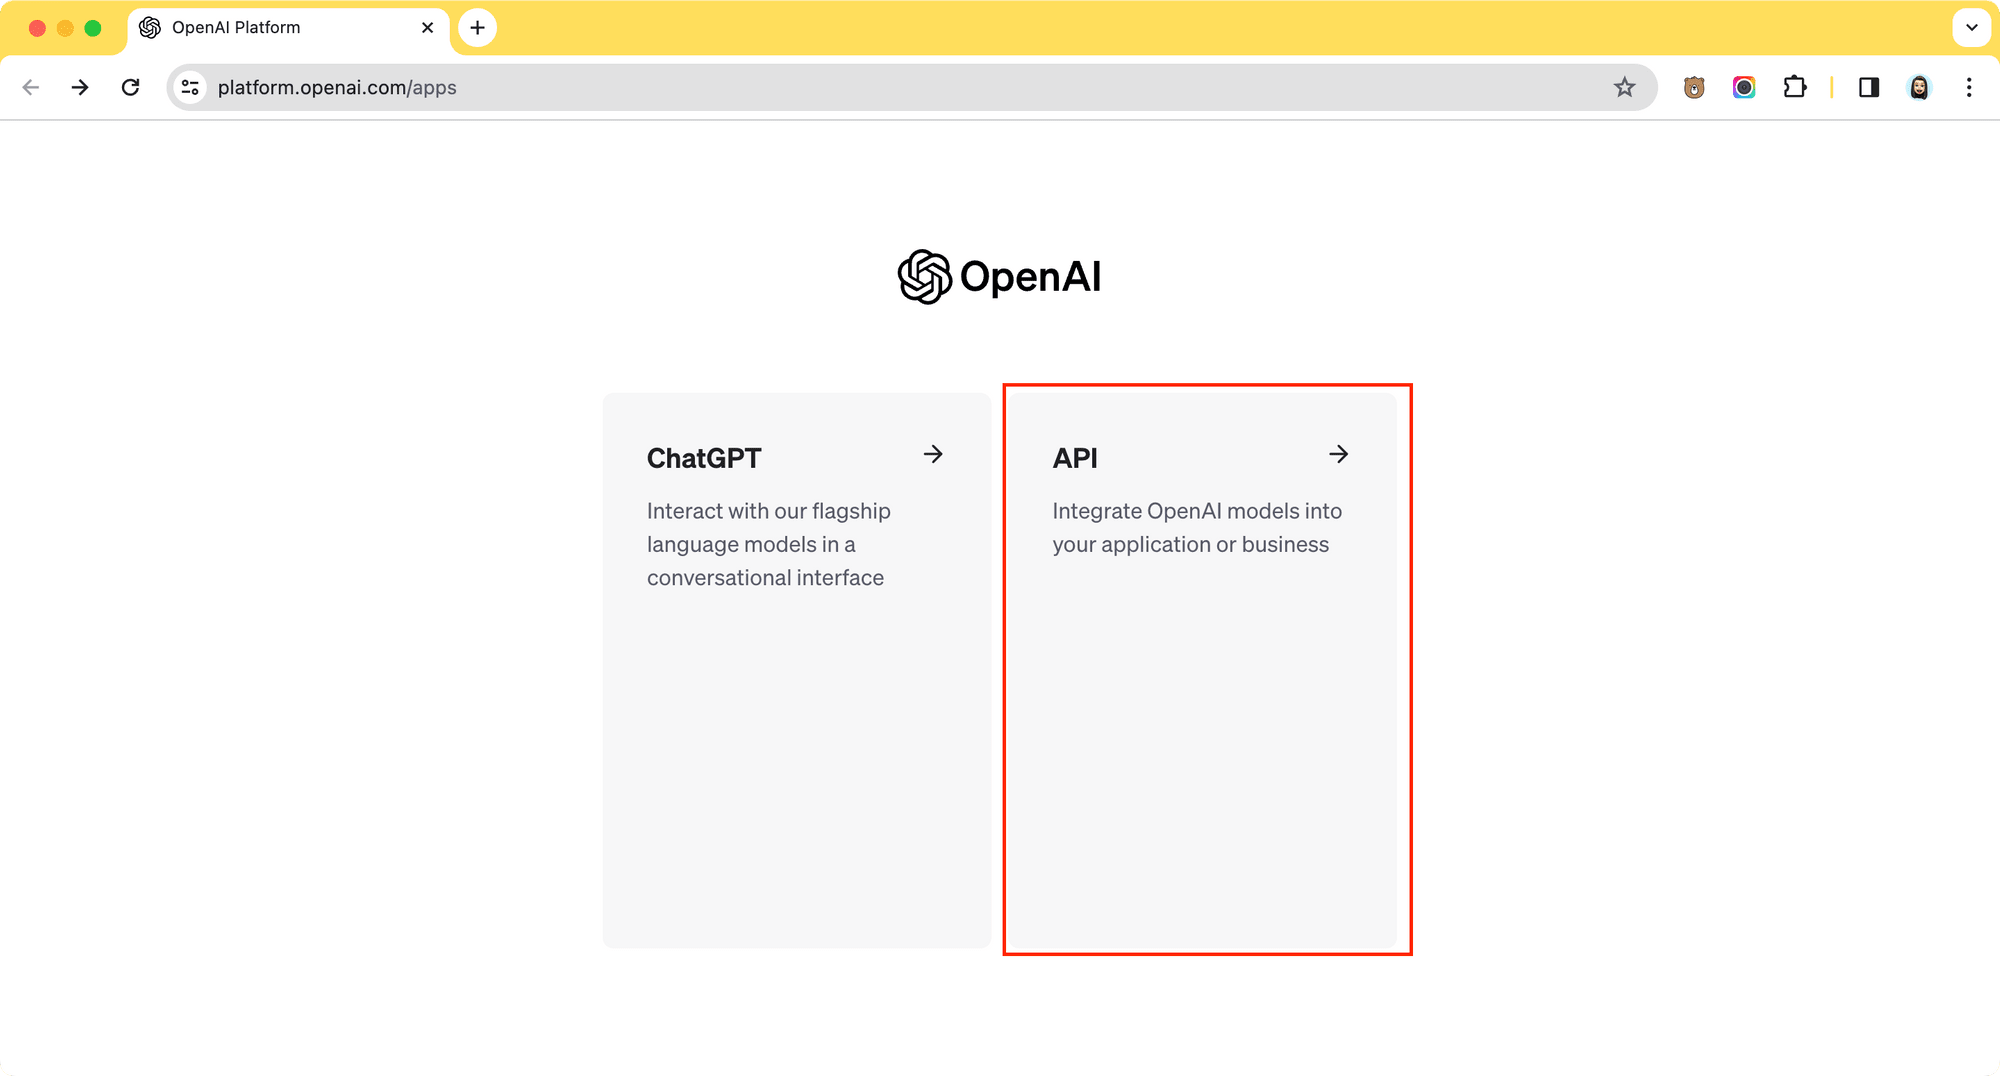
Step 1. Sign Up for Access and Log In to the ChatGPT API Dashboard
To use the ChatGPT API in Python projects, sign up for an OpenAI account and log in to the API dashboard.
Step 2. Create API Key
Go to the “API Keys” tab and click “Create new secret key”. On the pop-up window, enter a name for your key and save the key generated somewhere safe:

Step 3. Integrate ChatGPT into Python Project
In your terminal/command line, run the command below to install the OpenAI Python library:
pip install --upgrade openai
Note: If you’re using Python 3.x, replace pip in the command above with pip3.
After that, you can import openai in your Python script and start a new ChatGPT session using your API key:
from openai import OpenAI

# Your OpenAI API key
client = OpenAI(api_key="your-api-key")

# Create a new session
session = client.chat.completions.create(
    model="gpt-3.5-turbo",
    messages=[]
)

response = session.choices[0].message.content
We need to provide an array of message objects as input for the messages parameter. Each message object should have a ‘role’ (system/user/assistant) and ‘content’ (the text message).
Here’s what the roles mean:
System - A message object with this role sets the assistant/ChatGPT’s behavior. You can specify its personality, tone, or provide any other specific instructions about how it should behave throughout the conversation.
Example:
{
    "role": "system",
    "content": "You are a fitness trainer who designs workout and diet plans to help clients achieve their fitness goals."
}
User - A message object with this role contains instructions/requests to the assistant/ChatGPT.
Example:
{
    "role": "user",
    "content": "I am a 40 year old male and I currently weigh 60kg. What should I do to gain more muscles and reach 80kg?"
}
Assistant - A message object with this role contains the response to the previous instruction/request made by the user. It can be included in the array to help answer subsequent questions with better context.
Example:
{
    "role": "assistant",
    "content": "To gain more muscle and reach your goal weight of 80kg, you need to focus on two main areas: diet and exercise. Here's a plan to help you achieve your goal..."
}
The array typically starts with a system message, followed by alternating user and assistant messages. You can also omit the system message and pass a user message to the array directly. We’ll look at some examples in the next section…
🐻 Bear Tips: When starting a new ChatGPT session, you can choose which ChatGPT model to use by specifying the name in the
modelparameter (eg. gpt-3.5-turbo).
Examples of What You Can Do with the ChatGPT API in Python
Summarize Text
ChatGPT's most used capabilities/functionalities is text generation. You can use it to summarize long-form text content like articles, blog posts, journals, and reports simply by passing ChatGPT the original text.
Here's an example of using the ChatGPT API (particularly the Chat Completions API) in Python to generate a 100-word summary for the text given:
from openai import OpenAI

client = OpenAI(api_key="your-api-key")

content = "your-content-here" # replace this with your long-form text content

session = client.chat.completions.create(
    model="gpt-3.5-turbo",
    messages=[{
                "role": "user",
                "content": "Summarize the content below in 100 words: " + content
              }]
)

response = session.choices[0].message.content

print(response)
Replace the value of content with your long-form text content. You can also use a web scraping tool like BeautifulSoup, Browserbear, or Scrapy to extract texts from a website and assign them to content.
Here’s an example of the response summarizing this article:
Google Forms is a popular tool for creating online surveys and forms. However, it doesn't have a built-in feature to automatically generate QR codes for forms. This article explains how to automate the process using Google Apps Script. The script uses the Google Drive, Google Charts, and Gmail APIs to generate a QR code for a new form and send it via email. The article provides step-by-step instructions on creating the script and setting up triggers to run it automatically. It also mentions alternative tools like Browserbear for web scraping when APIs are unavailable.
🐻 Bear Tips: The GPT-3.5 Turbo model has a limit of 16k texts. If your text is longer than 16k, consider using GPT-4 Turbo which has a larger context window (128k).
Chatbot for Customer Service
You can also use the Chat Completions API to create a customer service chatbot that answers questions from a knowledge base. In the system message, you can pass data to ChatGPT and instruct it to answer customers’ questions based on the data.
To demonstrate it in the terminal/command prompt in Python, we can use a while loop to accept user inputs, pass them to the Chat Completions API, and print the response returned. Here’s an example of making a shop assistant chatbot using such a method:
from openai import OpenAI
import json

client = OpenAI(api_key="your-api-key")

data = [] # Insert your product list here

system_message = {
                    "role": "system",
                    "content": "You are a helpful shop assistant who answers customers' questions patiently to enhance their shopping experience. Here are our products: " + json.dumps(data) + "\n. Our shop allows a return within 30 days from the date of purchase of the product but customers have to bear the shipping fee."
                  }

conversation = [system_message]

count = 0

# Loop to interactively ask questions from the terminal
while True:

    if (count == 0):
        print("Assistant: Hi, how may I help you?")

    user_input = input("You: ") # Get user input for the next question]


    user_message = {"role": "user", "content": user_input} # Add user message to the conversation
    conversation.append(user_message)

    response = client.chat.completions.create(
        model="gpt-3.5-turbo", messages=conversation)

    assistant_reply = response.choices[0].message.content
    print(f"Assistant: {assistant_reply}")
    print("-" * 50)

    conversation.append({"role": "assistant", "content": assistant_reply}) # Include the assistant's response in the conversation for context in the next turn

    count += 1
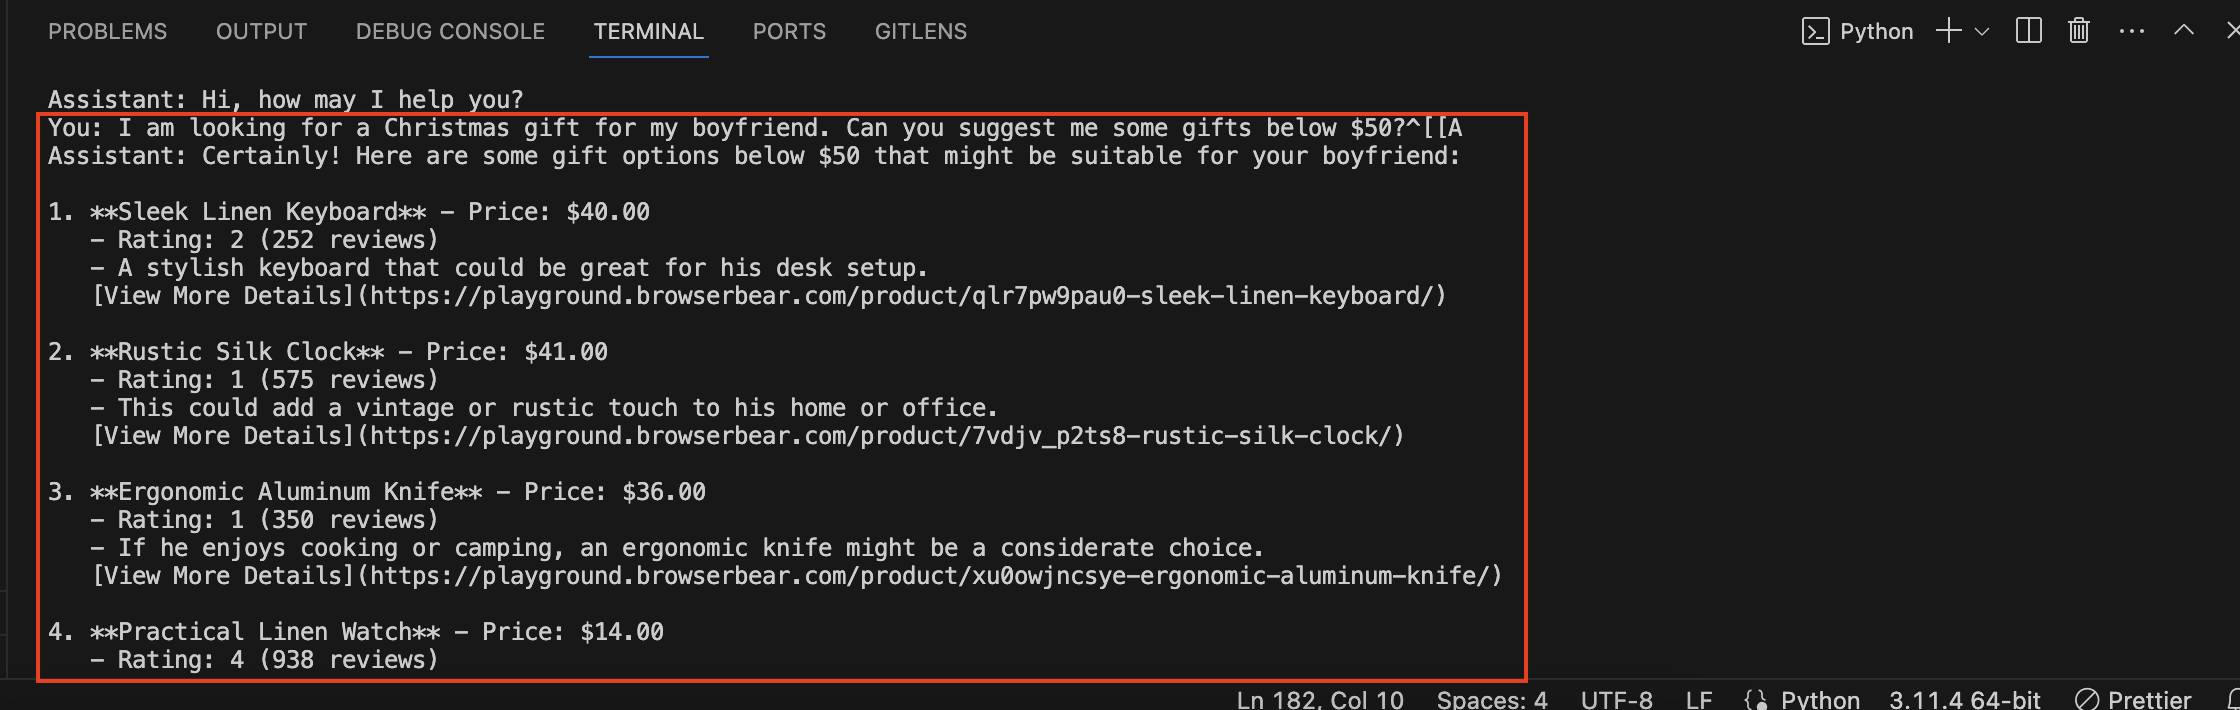
Here's a screenshot of the code running in the terminal/command line:
🐻 Bear Tips: You can also use functions in the ChatGPT API to query a database using SQL queries.
Translate Text
You can also use the ChatGPT API to translate one language to another. Simply pass the original text to ChatGPT and request it to translate the text into another language. The code below translates a sentence from English to Chinese using the ChatGPT API:
from openai import OpenAI

client = OpenAI(api_key="your-api-key")

originalText = "Hi, how are you?"

completion = client.chat.completions.create(
    model="gpt-3.5-turbo",
    messages=[{
                "role": "user",
                "content": "Translate the following English text to Chinese:" + originalText
              }]
)

print("Original text: " + originalText)
print("Translated text: " + completion.choices[0].message.content)

# Original text: Hi, how are you?
# Translated text: 嗨,你好吗?
This can be very helpful for building various applications, such as:
- Language learning applications - Users can engage in interactive conversations that help them practice their target language and receive personalized guidance to improve their skills.
- Real-time messaging applications - Auto-translate incoming and outgoing messages so that users across the globe can communicate seamlessly using their preferred languages.
- Customer Support applications - Similar to real-time messaging applications, businesses can provide customer support in multiple languages using auto-translation to cater to a diverse customer base.
- Other globalized applications - Other applications like e-commerce, media, and travel platforms that serve customers from all around the world can also use this feature to support multilingual communication and content localization.
Sentiment Analysis
Sentiment analysis is a natural language processing (NLP) technique used to identify whether the emotional tone of some text is positive, negative, or neutral. It can be used to analyze customer feedback, social media discussions, and any other texts to help make decisions based on the sentiment expressed.
Besides the popular open-source library for natural language processing, Natural Language Toolkit (NLTK), ChatGPT API can also be used to analyze sentiment. All you need to do is provide a system message that tells ChatGPT to classify a text’s sentiment as positive, neutral, or negative, and pass the text in the user message:
from openai import OpenAI

client = OpenAI(api_key="your-api-key")

originalText = "Hi, how are you?"

completion = client.chat.completions.create(
    model="gpt-3.5-turbo",
    messages=[{
                "role": "system",
                "content": "Classify the sentiment of the text provided as positive, neutral, or negative"
              },
              {
                  "role": "user",
                  "content": "This is the best product ever!"
               }]
)

print(completion.choices[0].message.content)

# positive
Conclusion
The ChatGPT API allows developers to integrate the functionalities of ChatGPT into their applications and the official Python library makes it extremely easy for Python developers. In this article, we have looked at some simple examples of using the ChatGPT API in Python to create functionalities that otherwise require more coding. If you would like to utilize other ChatGPT capabilities like image generation, vision, text-to-speech, etc., do check out the official documentation.