
How to Automatically Take Screenshots with Browserbear
Contents
The digital world is constantly changing. Every minute, millions of messages, videos, and other forms of content are sent, and 1.6 million USD is spent online. This amount of data and money is staggering.
Even though the internet changes second-by-second, certain aspects must remain constant. Users must be able to intuitively navigate websites and apps—and designers, developers, and testers are expected to create products that are easy to use.
Screenshots are a fantastic tool for building better digital products. They capture the way a webpage or app looks at a given moment, allowing you to refer to them to:
- Create visual documentation
- Track changes over time
- Identify potential errors or bugs
It’s not always necessary to manually capture screenshots, either. With tools like Browserbear, you can set up a task that automatically takes screenshots of a webpage when scheduled or triggered by an event. And in this tutorial, we’ll show you how!
What You Will Create
Screenshots can be a useful reference in many situations. However, manually capturing them can be impractical, especially when it's a recurring task. We will be setting up an automation that takes a screenshot of a website when scheduled or triggered by an event.
The tools you will be using are:
- Browserbear : To create a browser automation that captures screenshots
- Zapier : To trigger actions in different programs based on pre-specified commands
By the end of this tutorial, you should be able to automatically take screenshots that look something like this:

We’ll start by setting up a task on Browserbear.
Create a Browserbear Task
Log into your Browserbear account (or create a free trial account if you don’t have one—no credit card required! 🎉). Go to the Tasks tab, then click Create a Task.
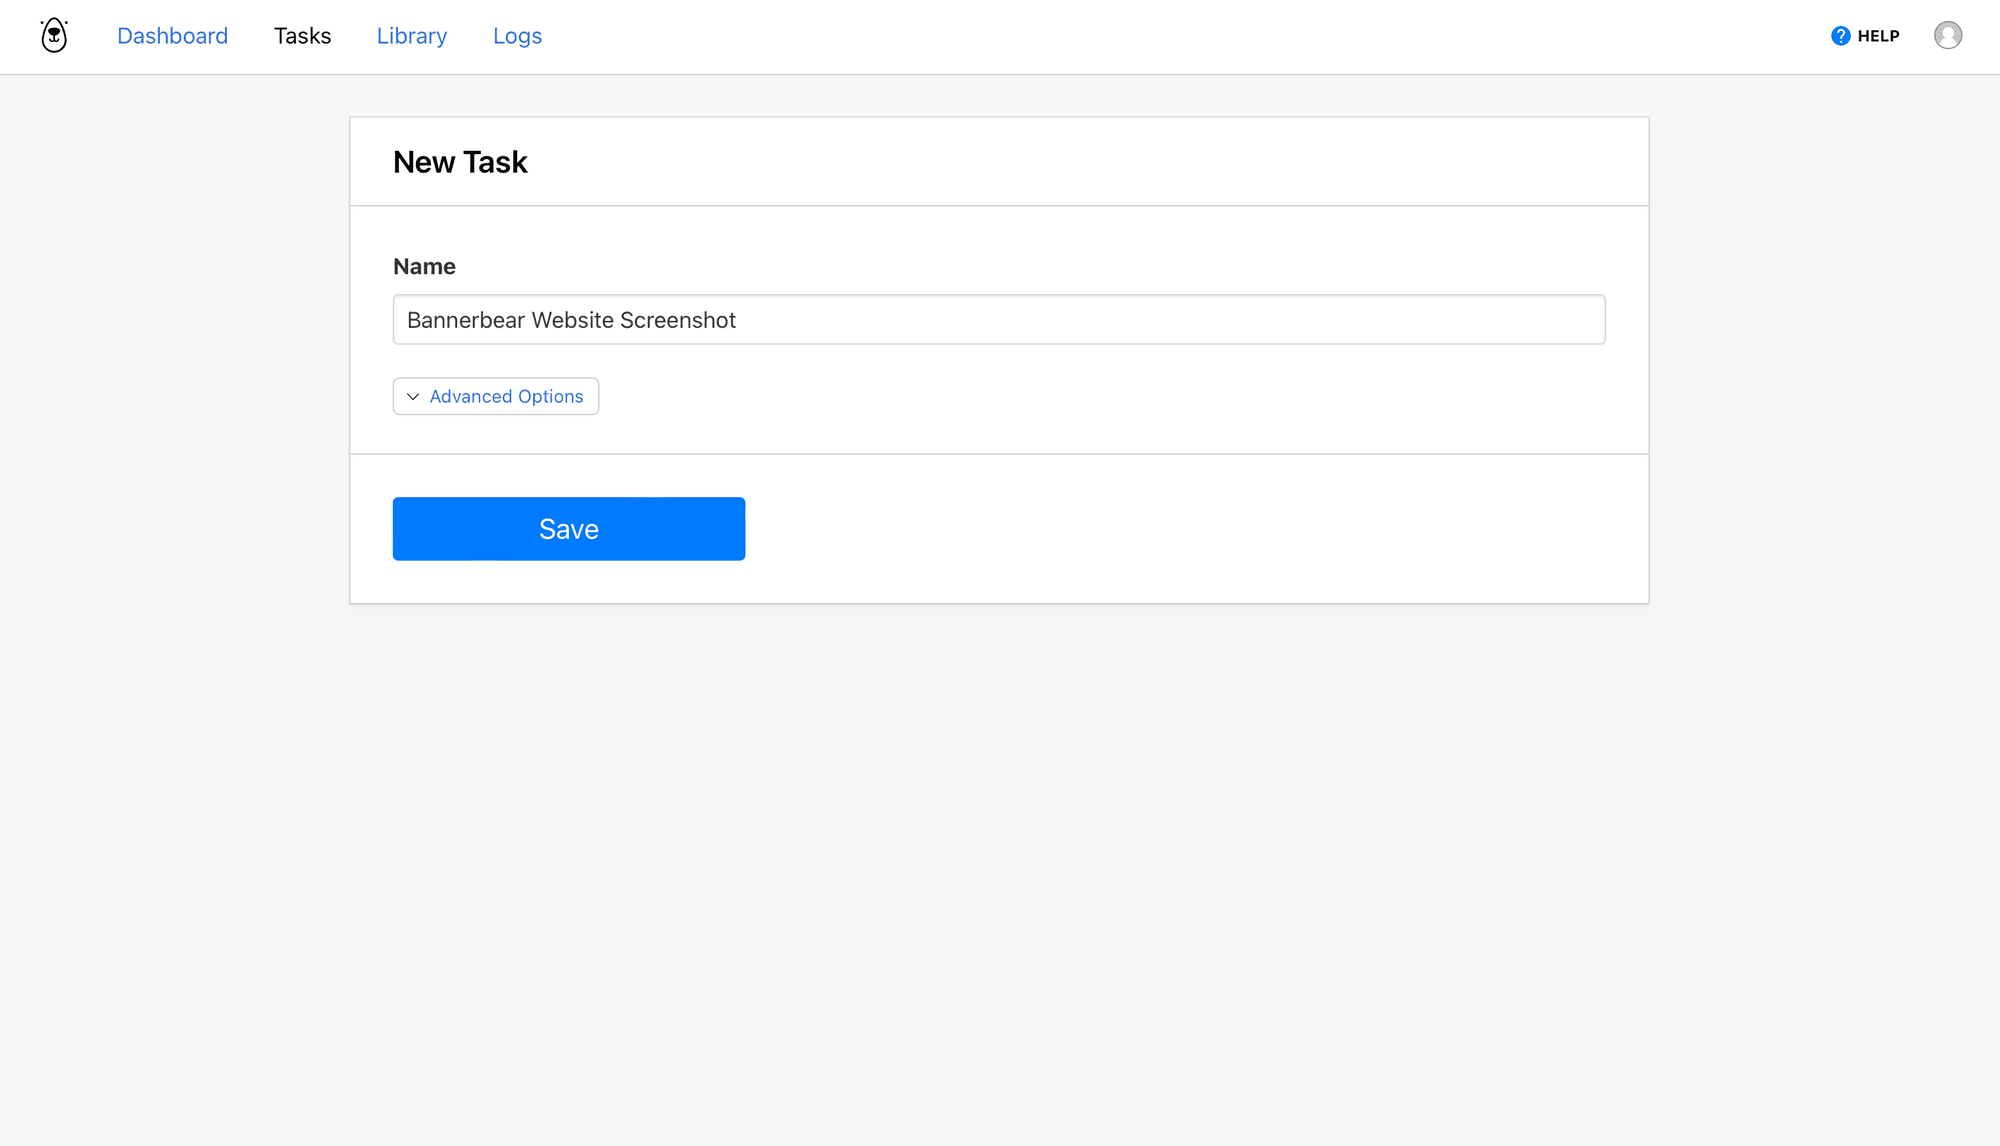
Name the task and click Save.
You should now have a task page where you can add steps, run the automation, and review completed runs.
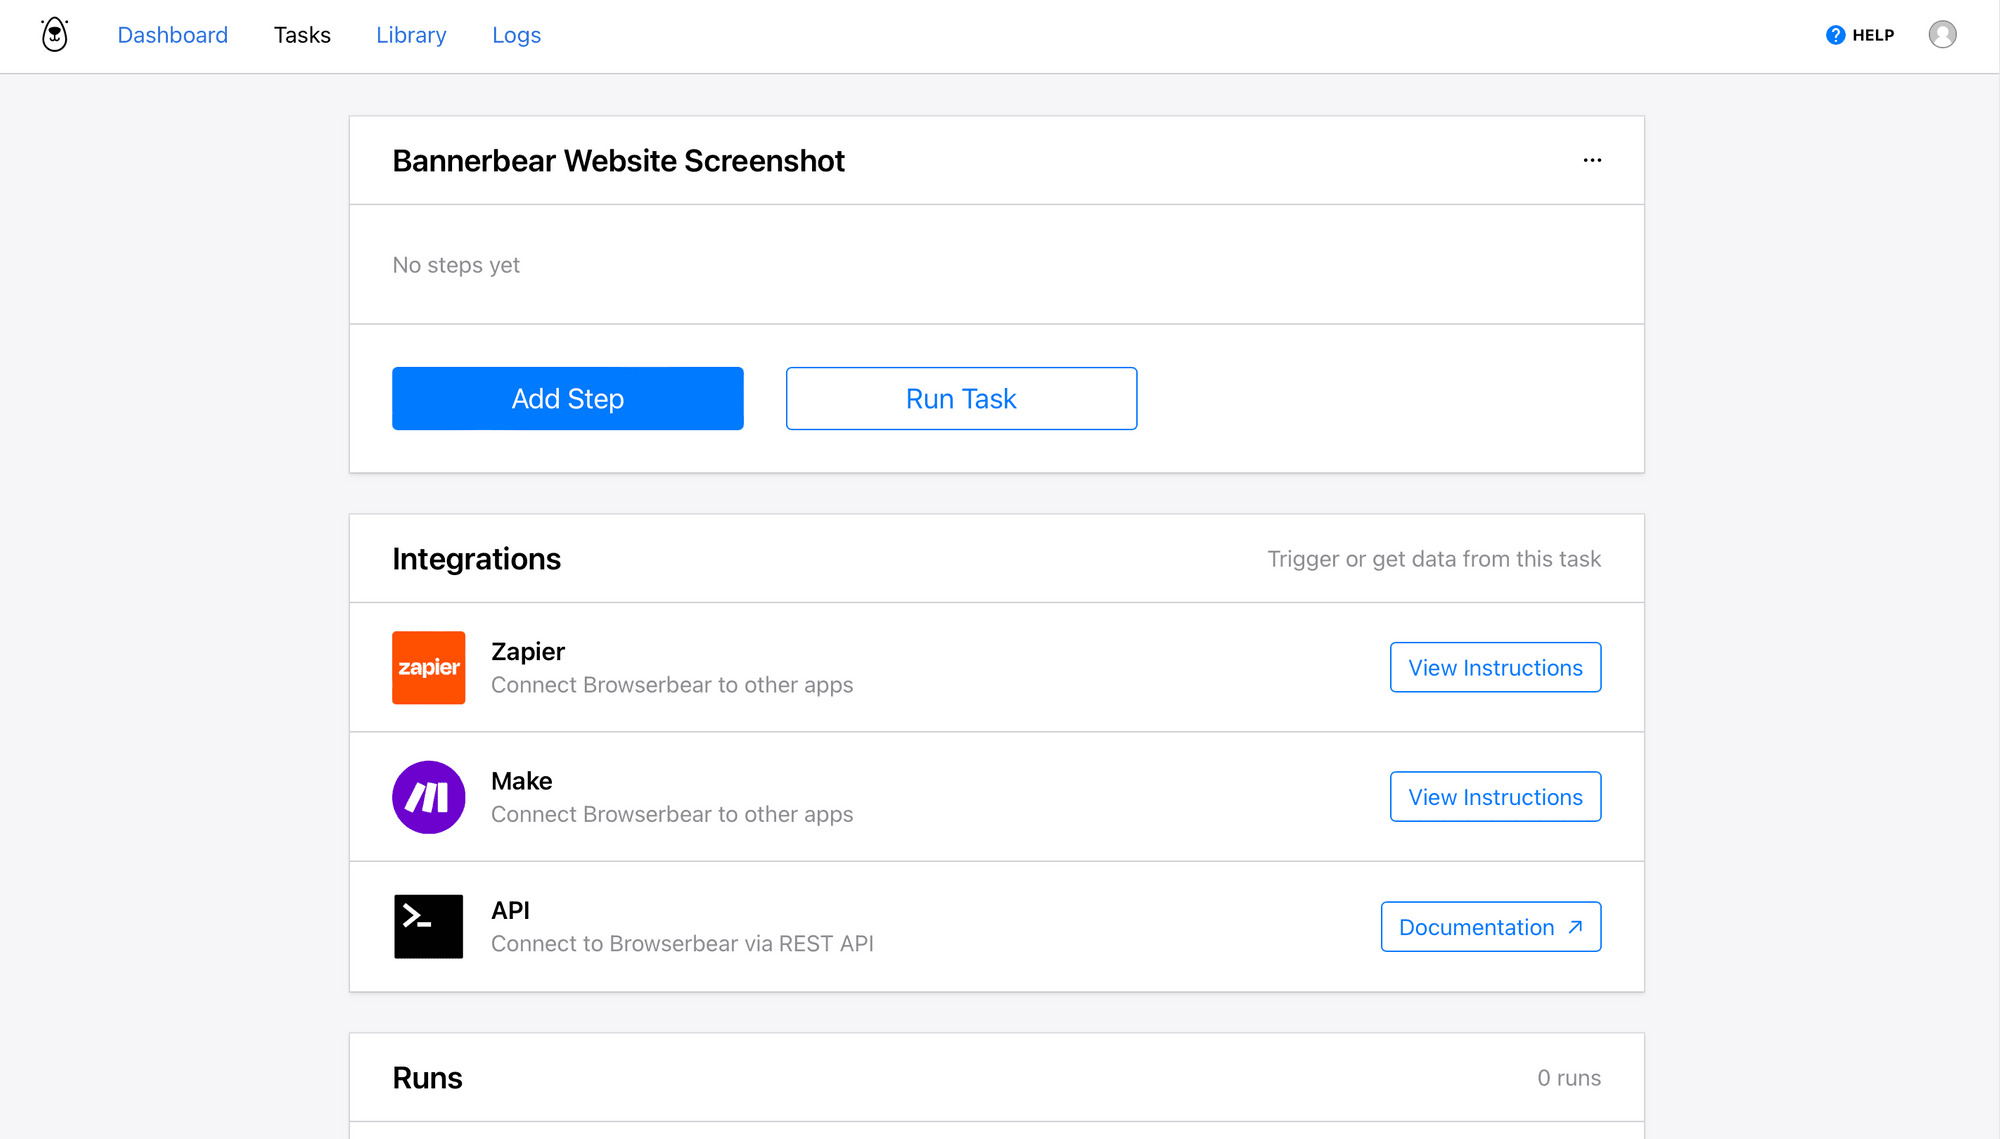
Click Add Step and set up the following actions:
Step 1: Go
The first step will instruct Browserbear to go to a website and wait until it has loaded.
Select go as the Action, insert the website URL, and choose networkidle as the wait instructions.
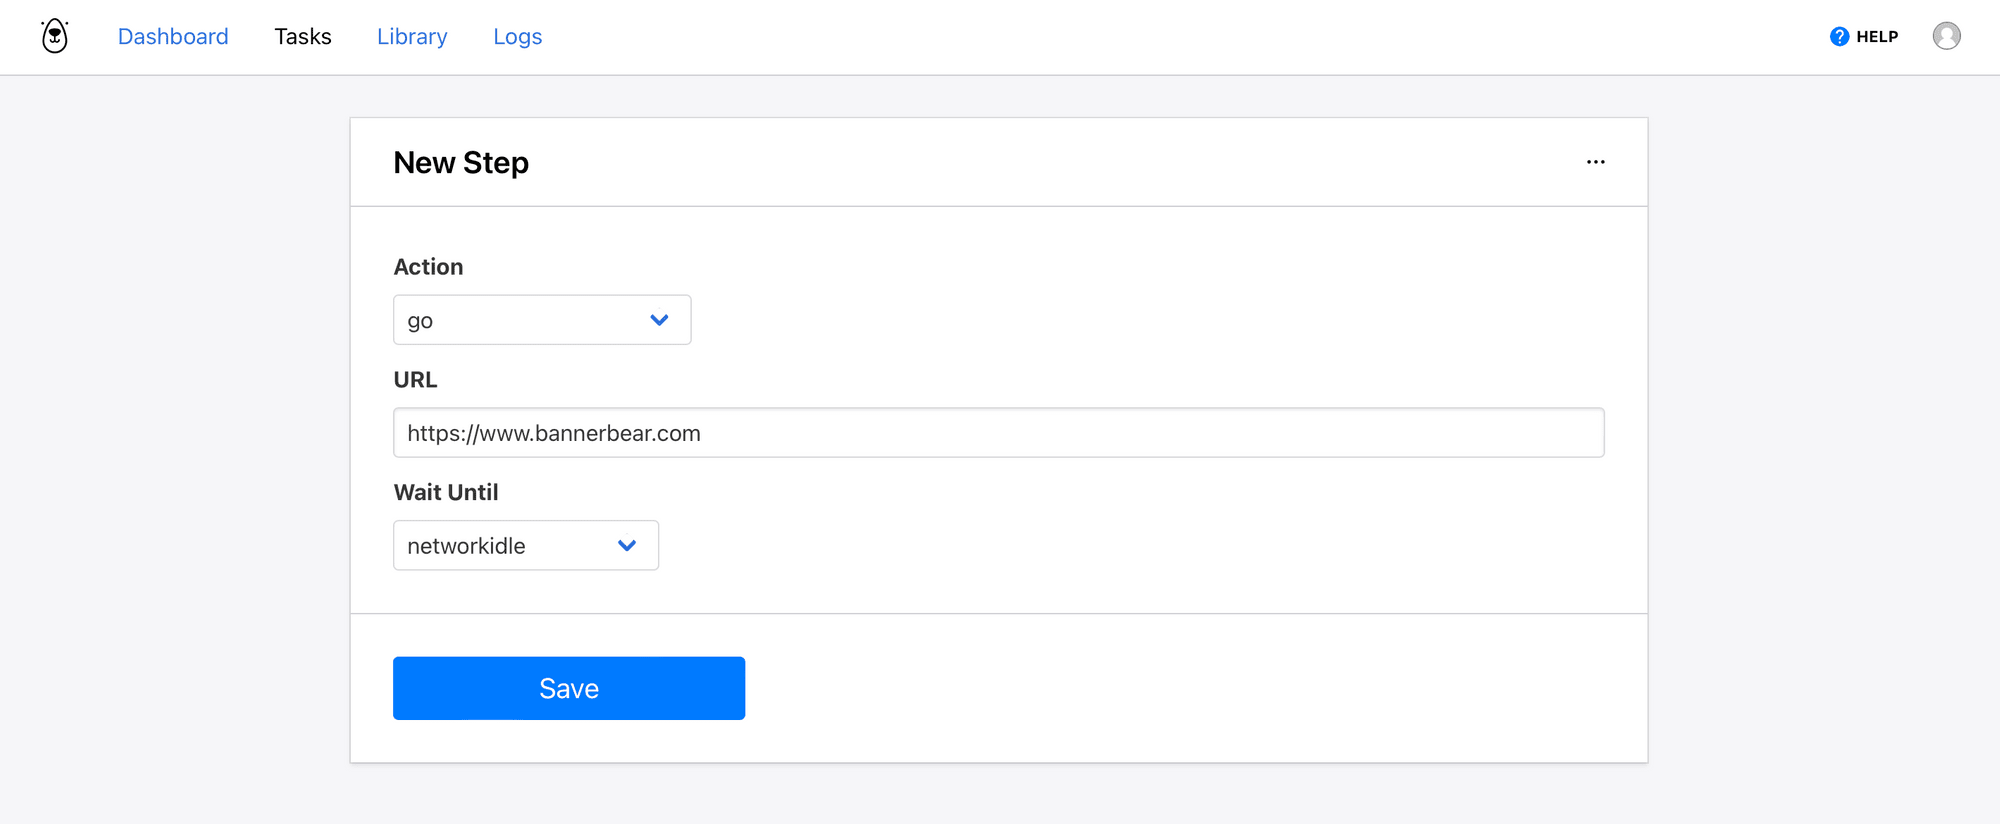
Click Save.
Bear Tip 🐻: The networkidle load instruction waits until no new network requests are made for 500 ms and is safest in the majority of situations. Other options include domcontentloaded and load.
Step 2: Remove Modal
Removing modals is optional, but useful as many sites have cookie consent videos, popup windows, and other items that you might not want to include in your screenshot.
Select the remove_modal action.
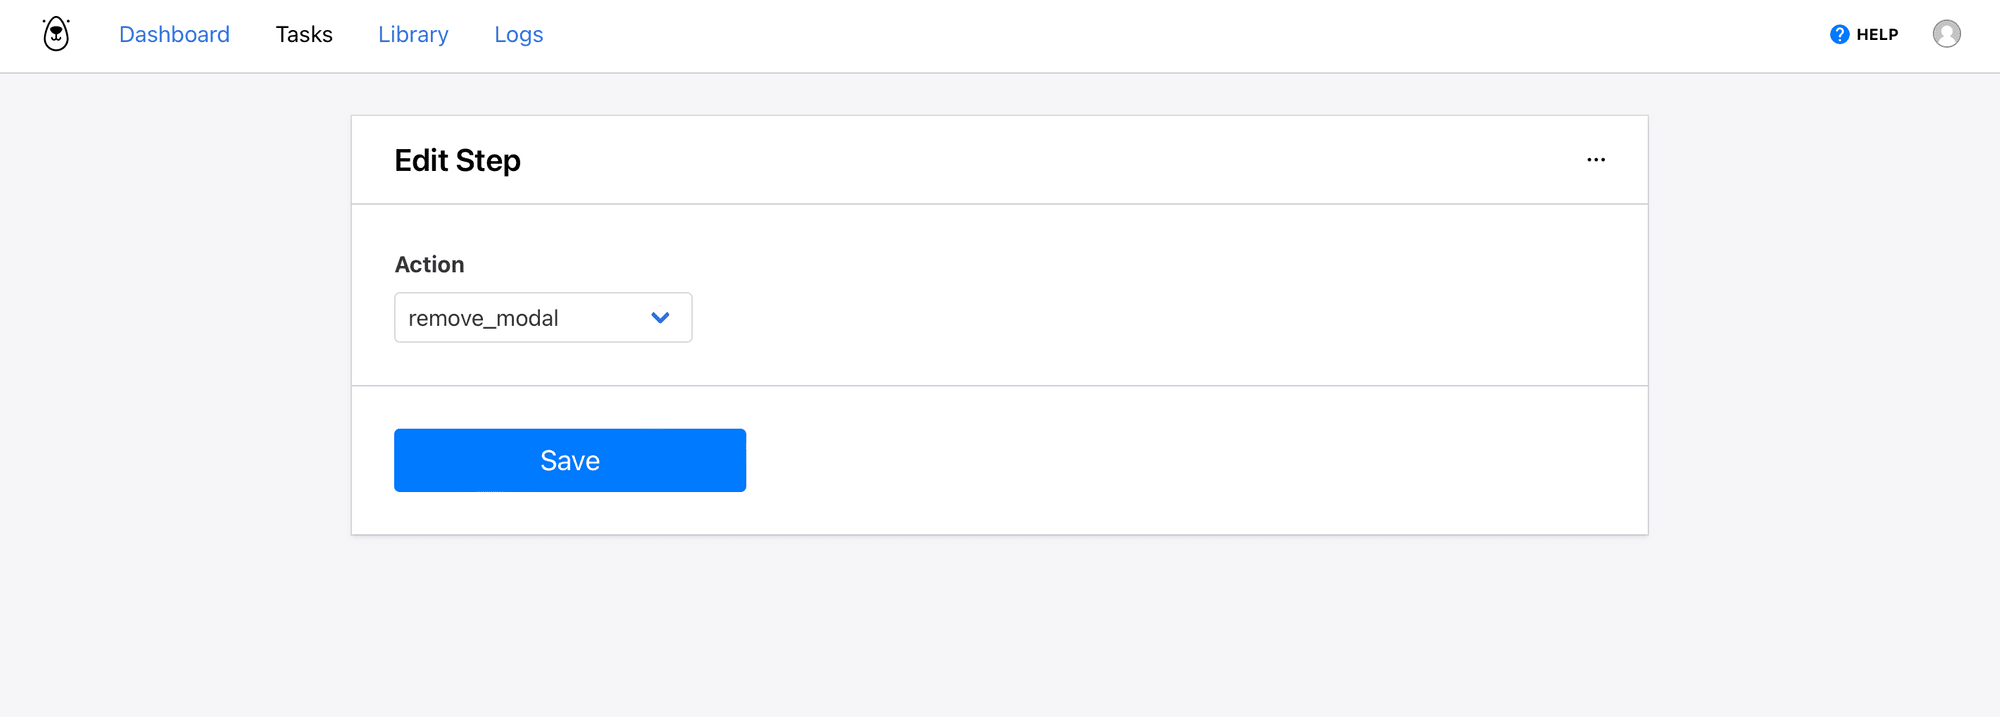
Click Save.
Step 3: Resize Window
Specifying window dimensions will help you see how a webpage looks in a variety of sizes. Skip this step if you only need to take full page screenshots.
Select the resize_window action and specify height and width.
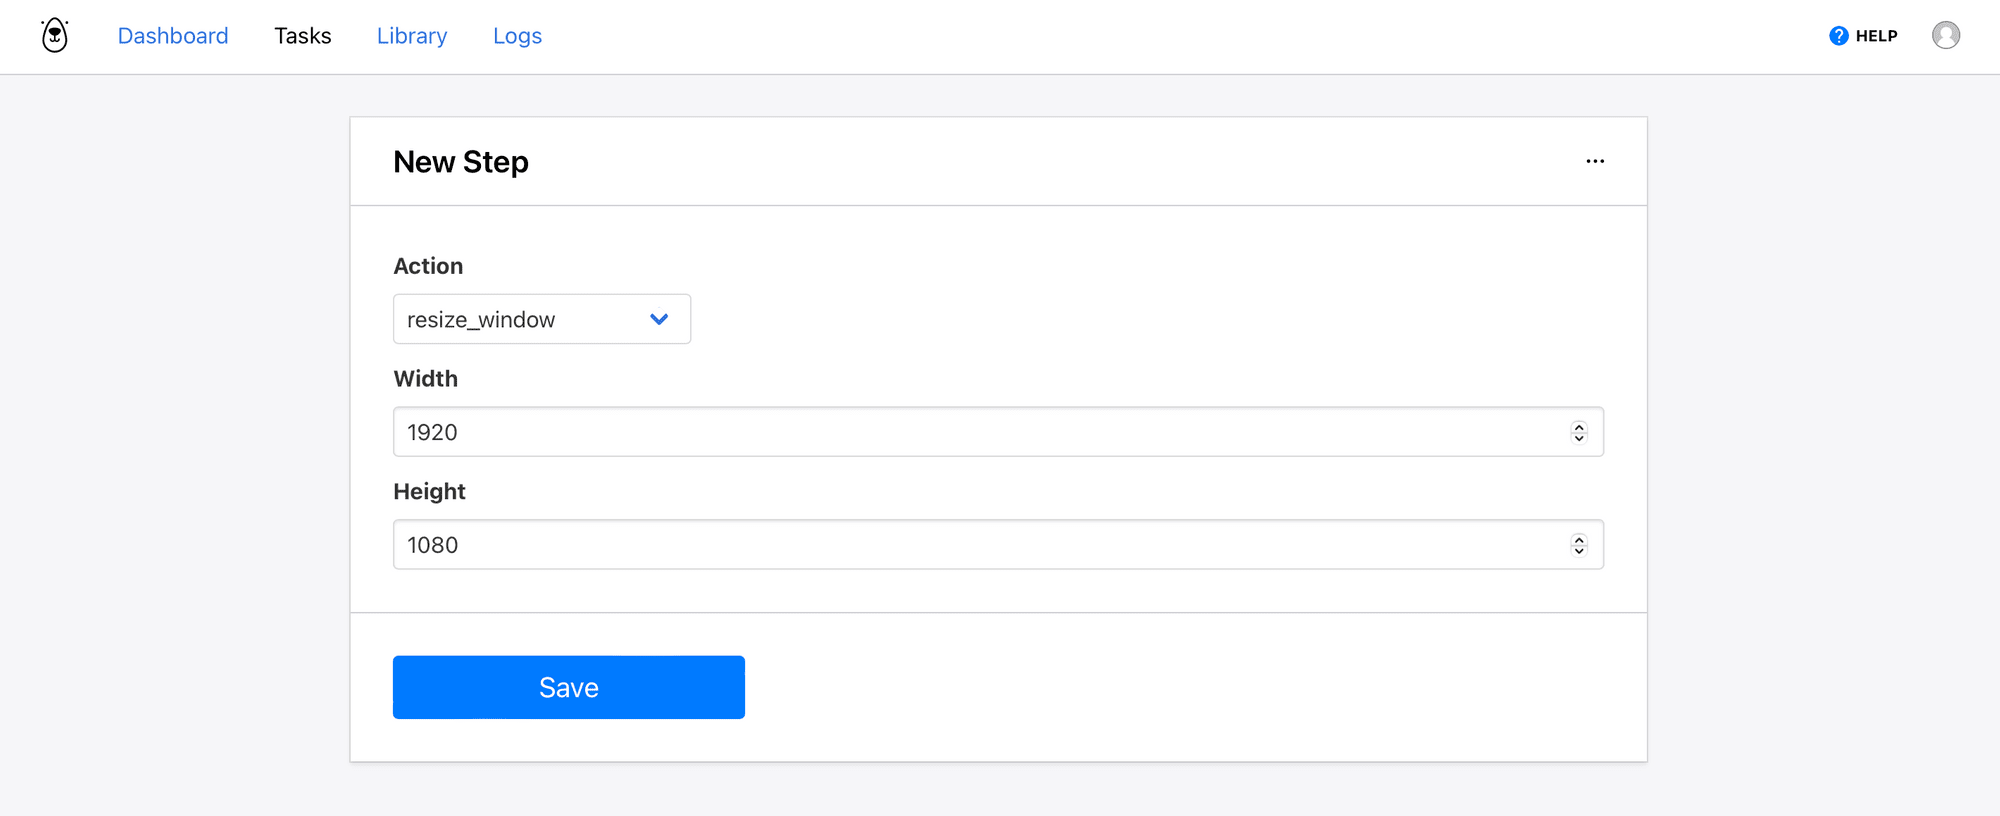
Click Save.
Step 4: Take Screenshot
The final action will take a screenshot.
Select the take_screenshot action. Tick the Full Page option if you would like to capture the entire webpage. If you specified window dimensions in the previous step, keep it unticked.
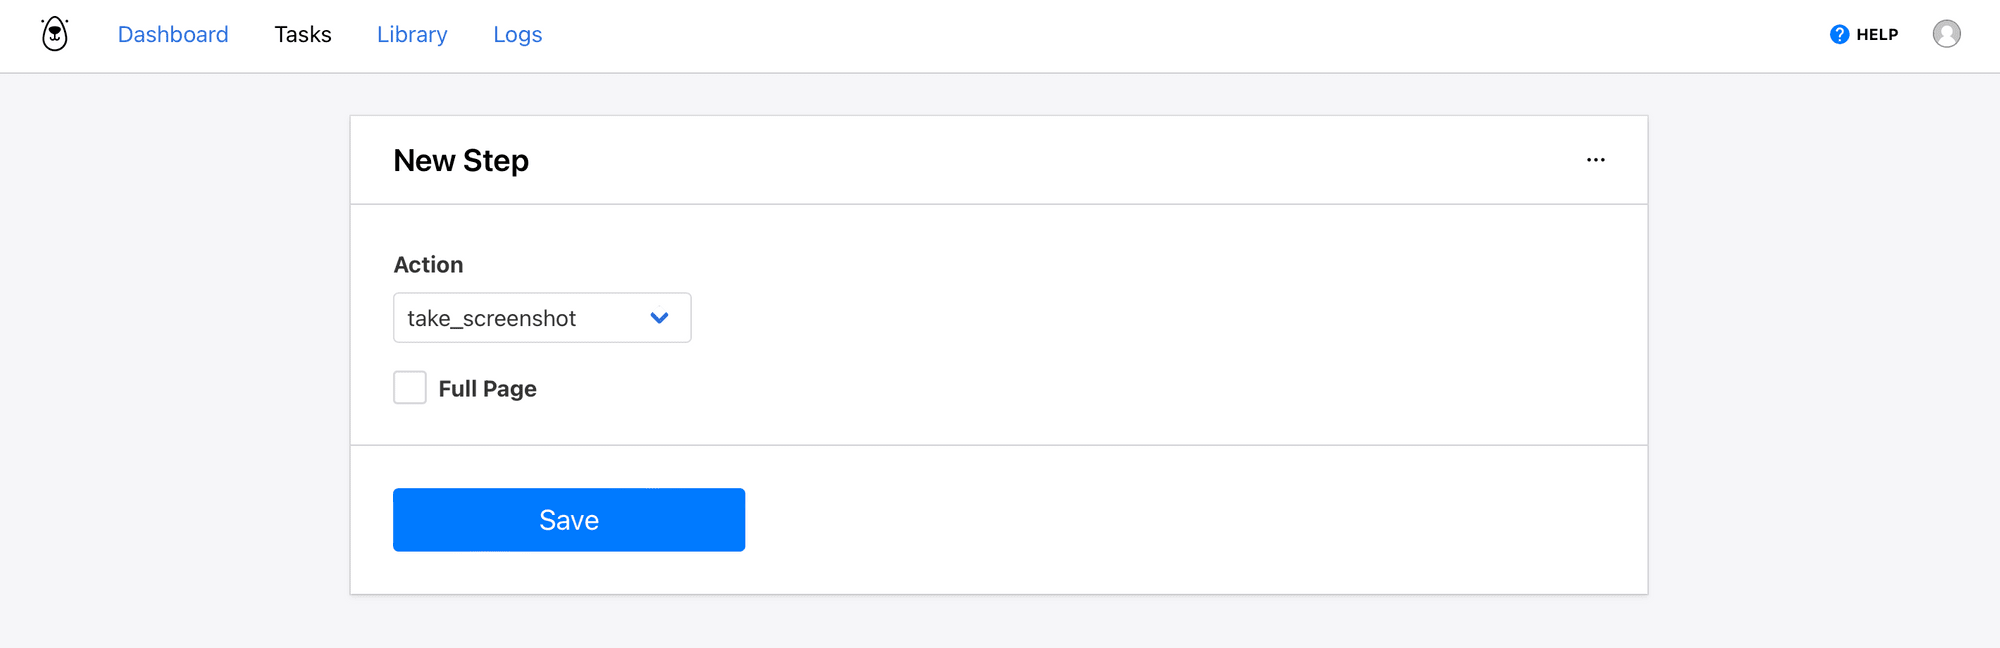
Click Save.
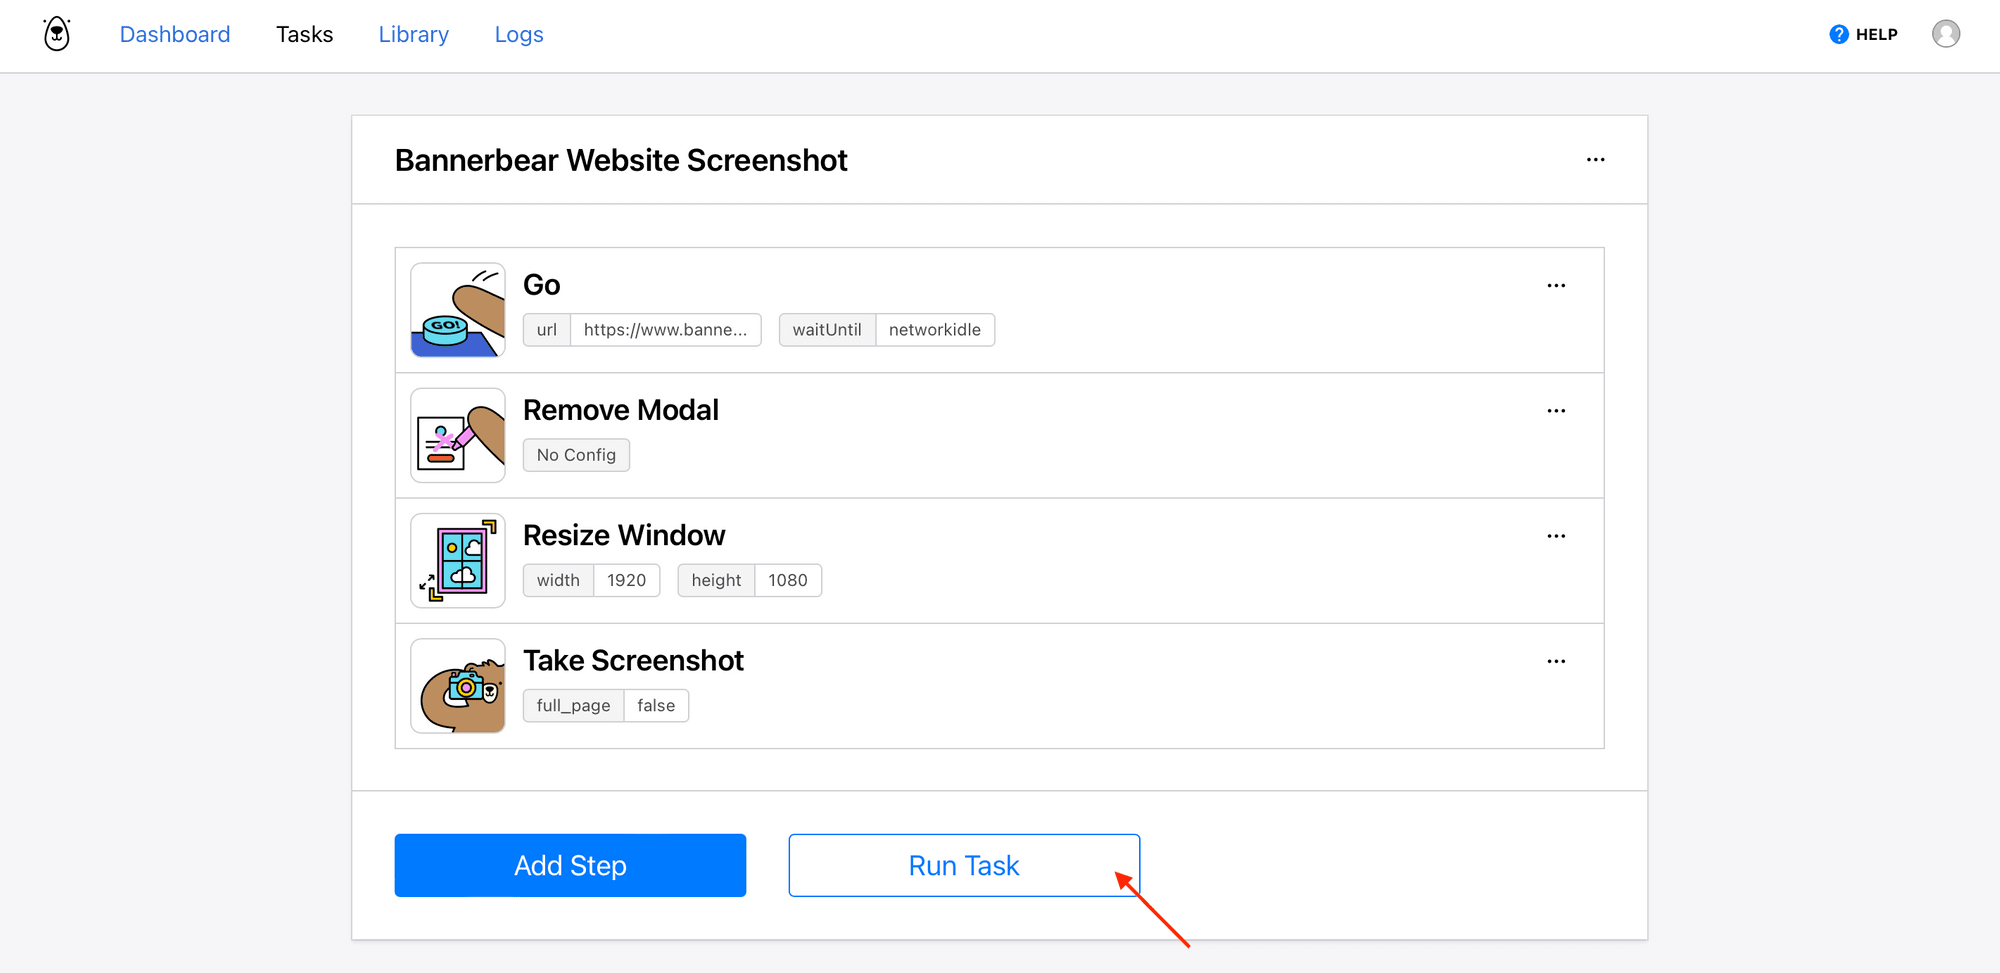
Bear Tip 🐻: If you’re testing the responsiveness of a webpage, it might be useful to include several cycles of this process (Go → Remove Modal → Resize Window → Screenshot) in as many sizes as needed.
Your website screenshot automation is now ready! Click Run Task to test it.
A run should now appear at the bottom of your task page.
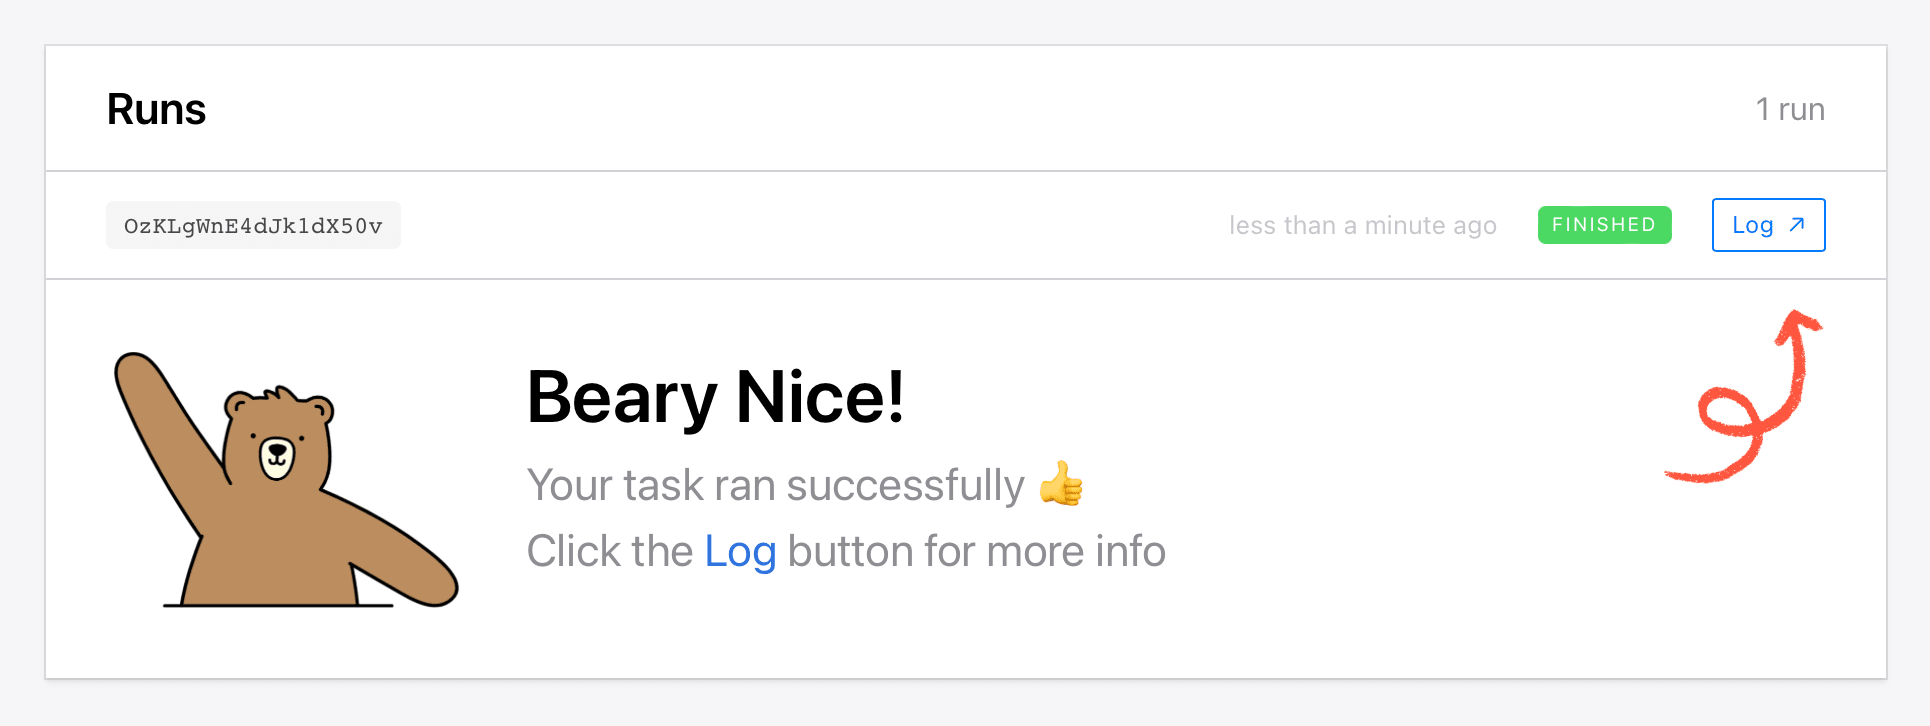
Click Log to see the results.
When you’re happy with the output, move on to the next step: hooking it up to a trigger.
Set up a Zap to Take Automatic Screenshots
A zap will initiate your Browserbear automation when a trigger is activated. You can use various triggers depending on your use case, such as a new commit in GitHub or a published post in Webflow. Here, we will keep it simple and use a schedule.
Log into your Zapier account, click + Create Zap , and set up the following events:
Trigger: Schedule by Zapier
Choose Schedule by Zapier as the app and Every Day (or any other frequency that suits your needs) as the event.
Set up the trigger by specifying the time you want the automation to run.
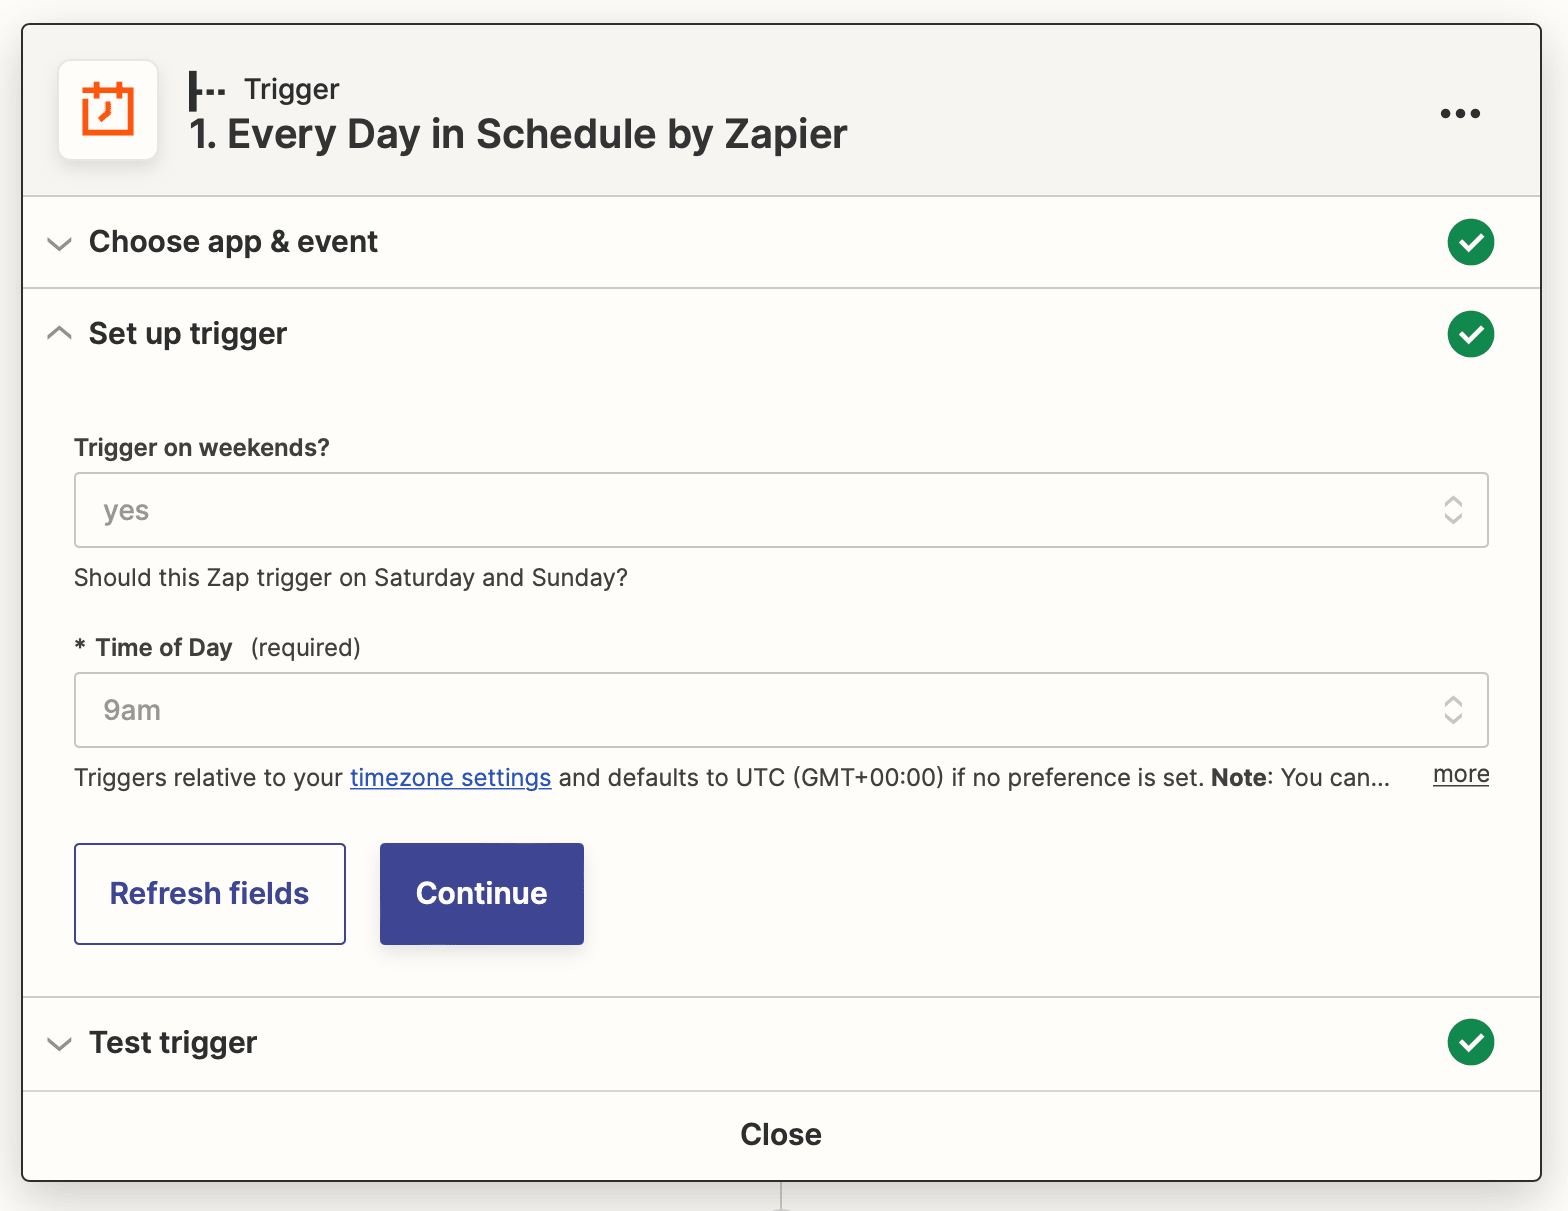
Test the trigger, then move to the next step.
Action: Create Run in Browserbear
Choose Browserbear as the app and Create Run as the event. You will need to connect your account using an API key generated in the Browserbear app.
Once connected, set up the action by selecting your task.
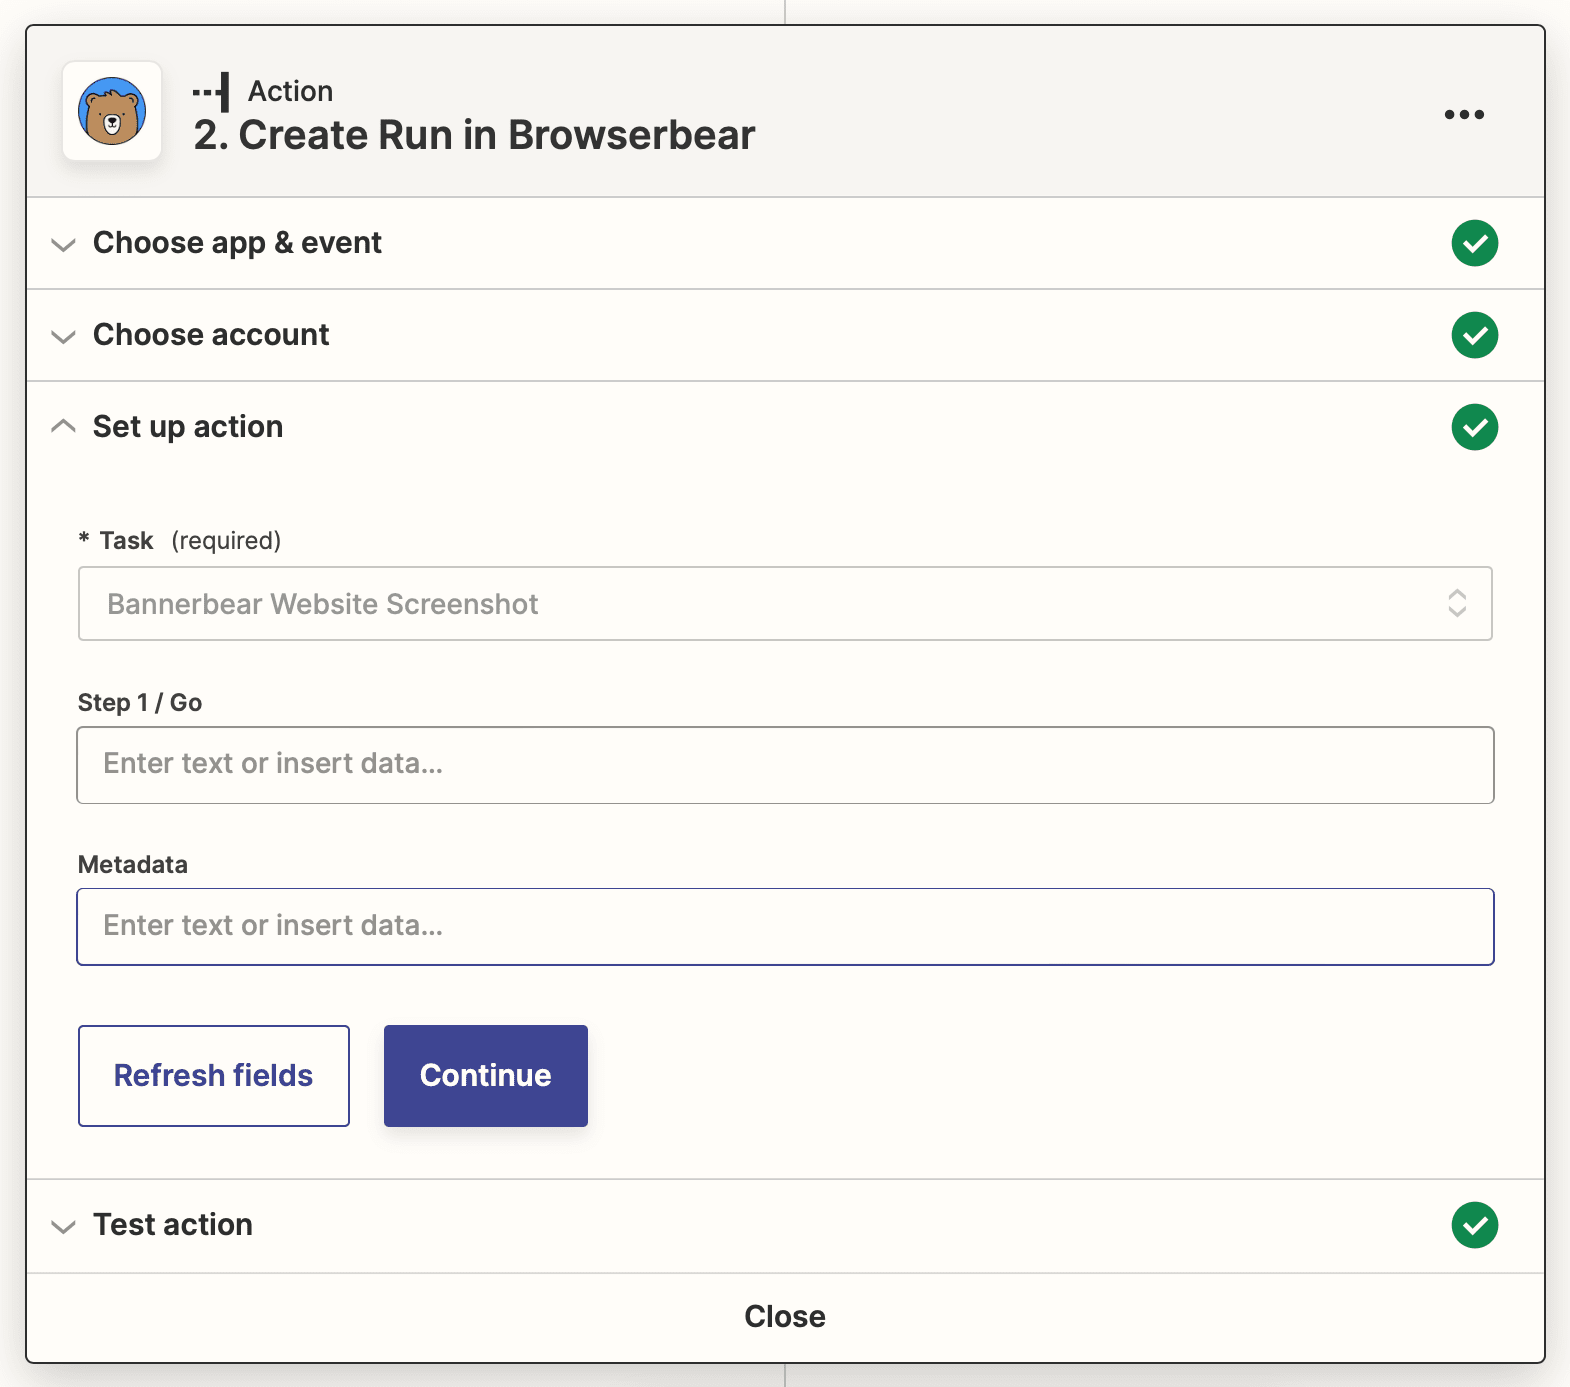
Test the action to make sure Browserbear runs the task. You should be able to generate a screenshot that looks something like this:
And that’s it!
Take Screenshots Automatically with Browserbear
Taking screenshots manually on a regular basis is a waste of time. Instead, set up a browser automation and free up your time and energy to take action on the output produced.
Browserbear and other nocode tools can help you create powerful browser automations and integrate them into your workflows. Get started now with a free account!
